

Mastering Basic Painting Techniques for Beginners

Painting a room or a piece of furniture can transform a space and refresh your home. However, starting a painting project without knowing the right techniques can lead to frustration and uneven results. We want to help you master basic painting techniques so you can confidently take on your next home improvement project. This guide will walk you through essential methods, tools, and tips to get the job done right.
Understanding Basic Painting Techniques
Before we dive into specific methods, it’s important to understand the foundation of basic painting techniques. These techniques help you apply paint evenly, avoid drips, and achieve a smooth finish. Whether you are painting walls, ceilings, or trim, mastering these basics will save you time and effort.
Here are some key points to keep in mind:
Preparation is crucial: Clean surfaces, repair holes, and use painter’s tape to protect edges.
Choose the right tools: Brushes, rollers, and sprayers each have their place depending on the surface.
Use proper paint: Select paint designed for your surface and environment.
Apply paint in thin layers: Multiple thin coats dry better and look smoother than one thick coat.
By focusing on these basics, you set yourself up for success in any painting project.

Essential Tools and Materials for Basic Painting Techniques
Having the right tools makes a big difference in the quality of your work. Here’s a list of essential items you should have before starting:
Paintbrushes: Use angled brushes for trim and flat brushes for larger surfaces.
Paint rollers: Choose the roller nap based on the texture of your wall (short nap for smooth walls, longer nap for textured surfaces).
Painter’s tape: Protects edges and creates clean lines.
Drop cloths: Keep floors and furniture safe from spills.
Paint tray and liners: Makes loading your roller easier and cleaner.
Sandpaper: Smooths rough spots before painting.
Putty knife and spackle: Fill holes and cracks.
Using these tools properly will help you apply paint evenly and avoid common mistakes like streaks or drips.
What are the four painting techniques?
When it comes to painting, there are four main techniques beginners should know. Each technique serves a different purpose and works best on specific surfaces or projects.
Brushing
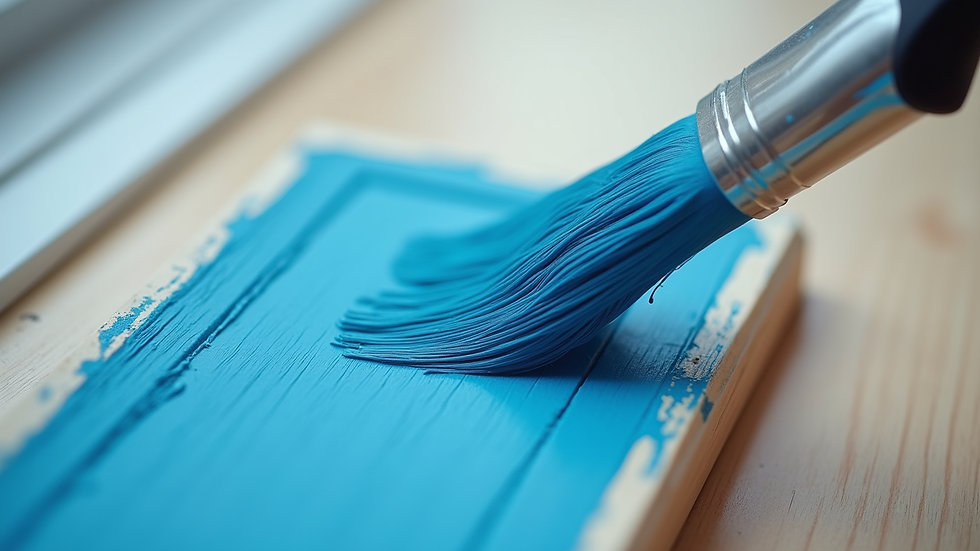
Brushing is the most common technique. It works well for cutting in edges, painting trim, and small areas. Use smooth, even strokes and avoid overloading the brush with paint. Brush in one direction to reduce visible brush marks.
Rolling
Rolling is ideal for covering large, flat surfaces like walls and ceilings. Use a roller with the appropriate nap length for your surface. Apply paint in a “W” or “M” pattern, then fill in the gaps with horizontal strokes for even coverage.
Dabbing or Stippling
This technique involves lightly tapping the brush or roller on the surface. It’s useful for textured walls or creating special effects. Dabbing can add depth and interest to your paint job.
Spraying
Spraying paint is fast and efficient for large areas or outdoor projects. It requires special equipment and practice to avoid overspray and uneven coverage. Spraying is less common for beginners but worth considering for big jobs.
Understanding these four painting techniques helps you choose the right method for your project and achieve professional-looking results.
Step-by-Step Guide to Painting a Room
Let’s walk through the process of painting a room using the basic painting techniques we discussed. This step-by-step guide will help you stay organized and efficient.
Prepare the room
Remove furniture or move it to the center and cover with drop cloths. Remove outlet covers and light switch plates. Clean walls to remove dust and grease.
Repair and sand
Fill holes and cracks with spackle. Once dry, sand smooth. Wipe away dust with a damp cloth.
Tape edges
Apply painter’s tape along baseboards, window frames, and door trim to protect surfaces.
Cut in edges
Use an angled brush to paint a 2-3 inch border around the ceiling, corners, and trim. This prepares the edges for rolling.
Roll the walls
Pour paint into a tray and load your roller. Apply paint in a “W” pattern, then fill in with horizontal strokes. Work in sections to keep a wet edge.
Apply additional coats
Allow the first coat to dry completely. Apply a second coat if needed for full coverage.
Remove tape and clean up
Remove painter’s tape before the paint fully dries to avoid peeling. Clean brushes and rollers with water or appropriate solvent.
Following these steps ensures a smooth, even finish and a professional look.
Tips for Achieving a Smooth Finish
Achieving a smooth finish is one of the most important goals in any painting project. Here are some practical tips to help you get there:
Use high-quality brushes and rollers: Cheap tools can leave bristles or lint behind.
Don’t overload your brush or roller: Too much paint causes drips and uneven coverage.
Maintain a wet edge: Work quickly enough so that new paint blends with wet paint, avoiding lap marks.
Sand between coats: Lightly sanding after the first coat removes imperfections.
Control your environment: Avoid painting in very humid or cold conditions, which affect drying time.
By following these tips, you can create a finish that looks smooth and professional.
Final Thoughts on Painting Your Home
Mastering basic painting techniques takes practice, but it is achievable with patience and the right approach. Whether you are refreshing a single room or tackling a full remodel, understanding these methods will help you get the best results.
If you want to learn more about painting techniques for beginners, this guide is a great place to start. Remember, preparation and the right tools are just as important as the painting itself.
We encourage you to take your time, follow the steps carefully, and enjoy the process of transforming your home. With these skills, you can confidently improve your living space and add value to your property.
Happy painting!


Comments